Jira hosting: Server, Data Center, Server
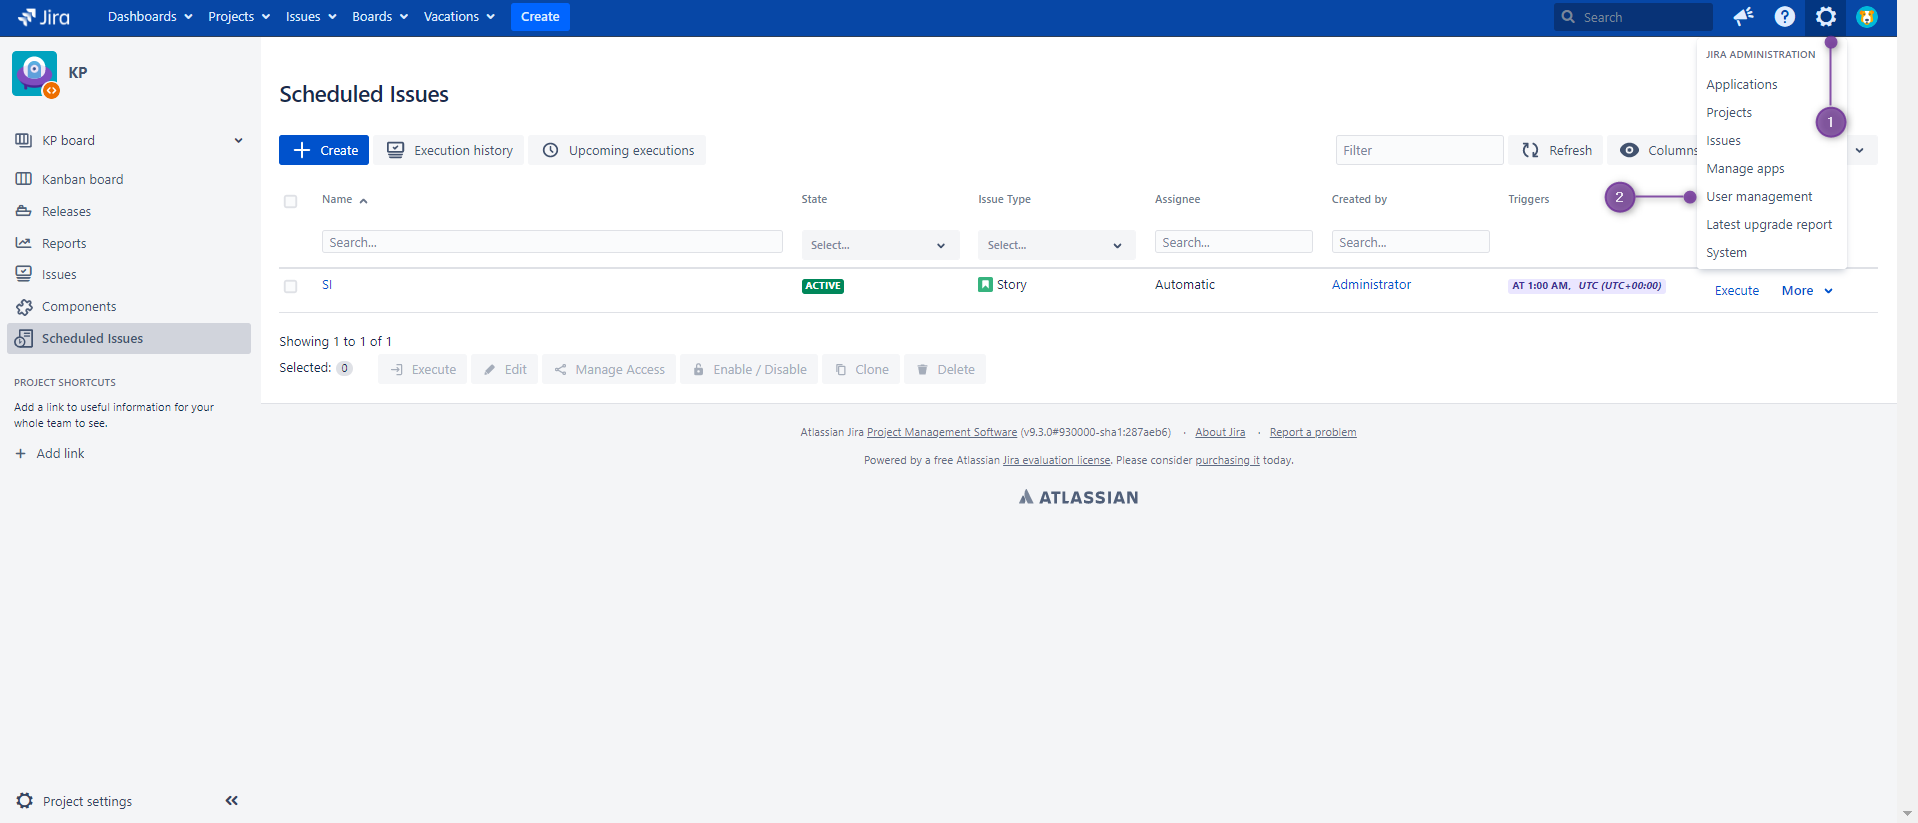
In ServerData Center, the creator of scheduled issue can be changed, so every Jira user (with correct permissions) can be set in that role. However, The Scheduler - Jira app profile is not automatically created during the app installation as it is in a Cloud. For that reason, The Scheduler will not be set as creator by default and you need to do it manuallyfield. This field is different than reporter, and it’s recording the original source of issue creation. In Scheduler by default the creator is the use who creates the scheduled issue template - in issue history you can check who created issue. In Cloud, apps have dedicated users for performing app actions ( How to find issues created by The Scheduler (Cloud) ), in Data Center (an Server) you need to create such user on your own.
To get more information, check the following sections:
How to set The Scheduler as a creator
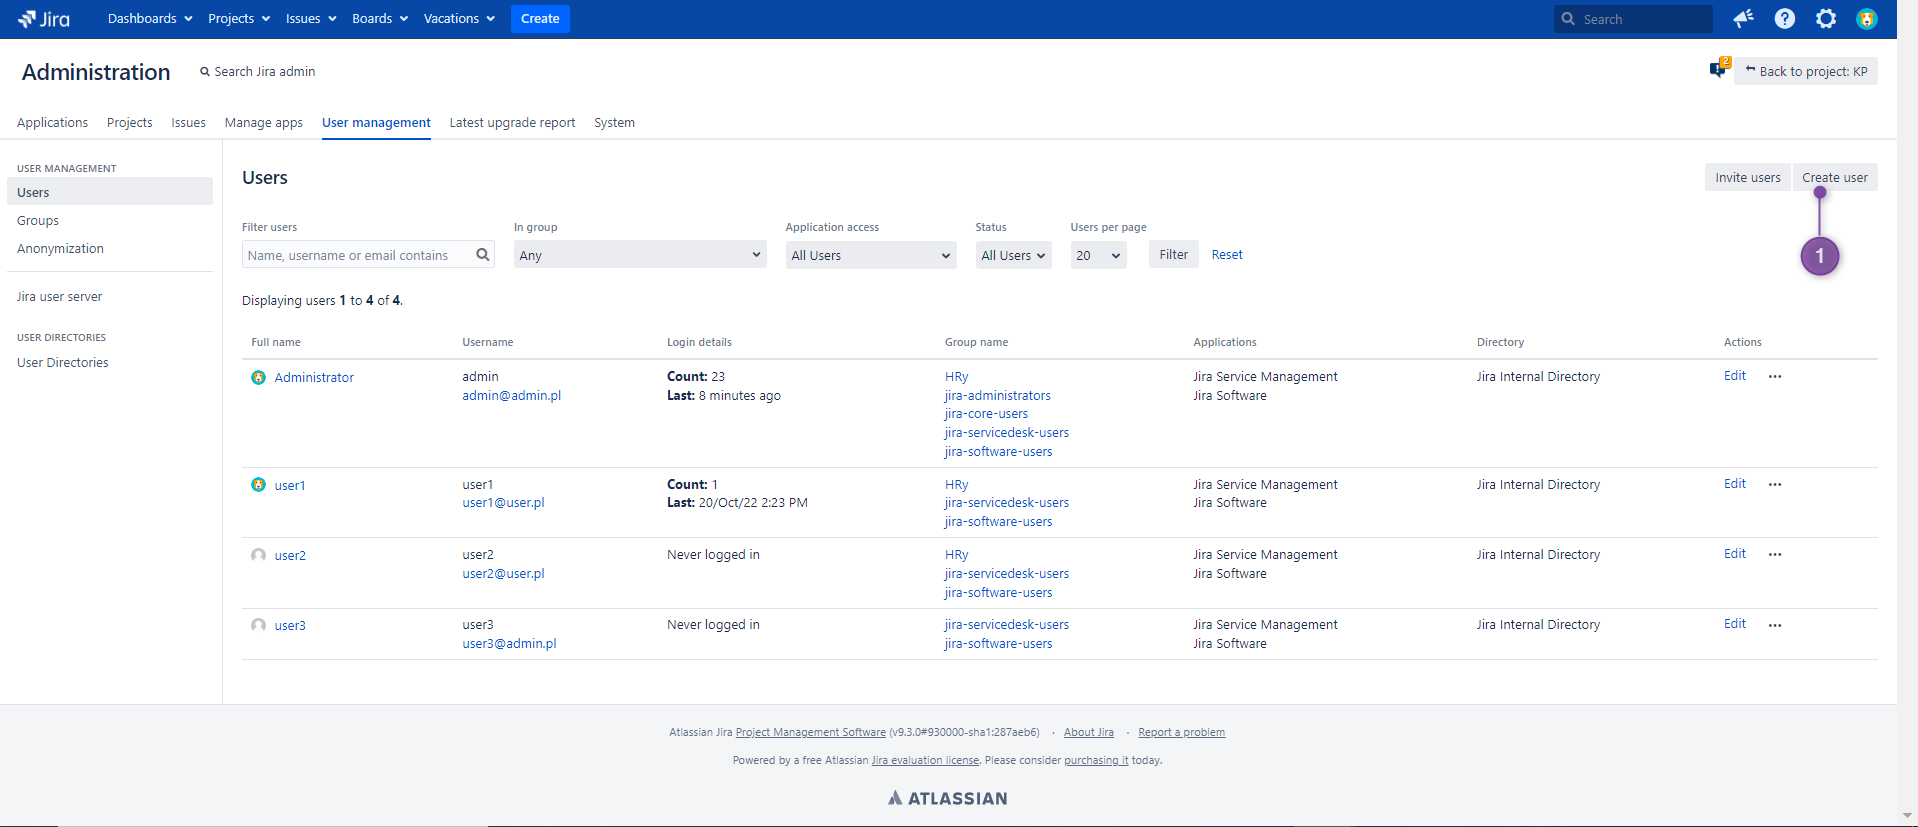
If you want the creator field to indicate that this issue was created by The Scheduler, you need to create “The Scheduler” user. You can use any other user, but it’s a common practise to use some ‘bot’ user to perform actions/scripts on behalf of users. The benefit of such ‘fake’ user is that it will be constant, and it makes certain scripts/actions robust - not affected by people leaving/joining company. The downside is that this ‘bot’ user need to follow these stepsto be active - it will take 1 license seat. It’s for you to decide if it’s worth it ![]()
| Expand | ||
|---|---|---|
| ||
|
...
|
...
|
...
To set avatar for new user you can use one of the following app icons:
When all required fields will be filled, finish creation using Create user button. 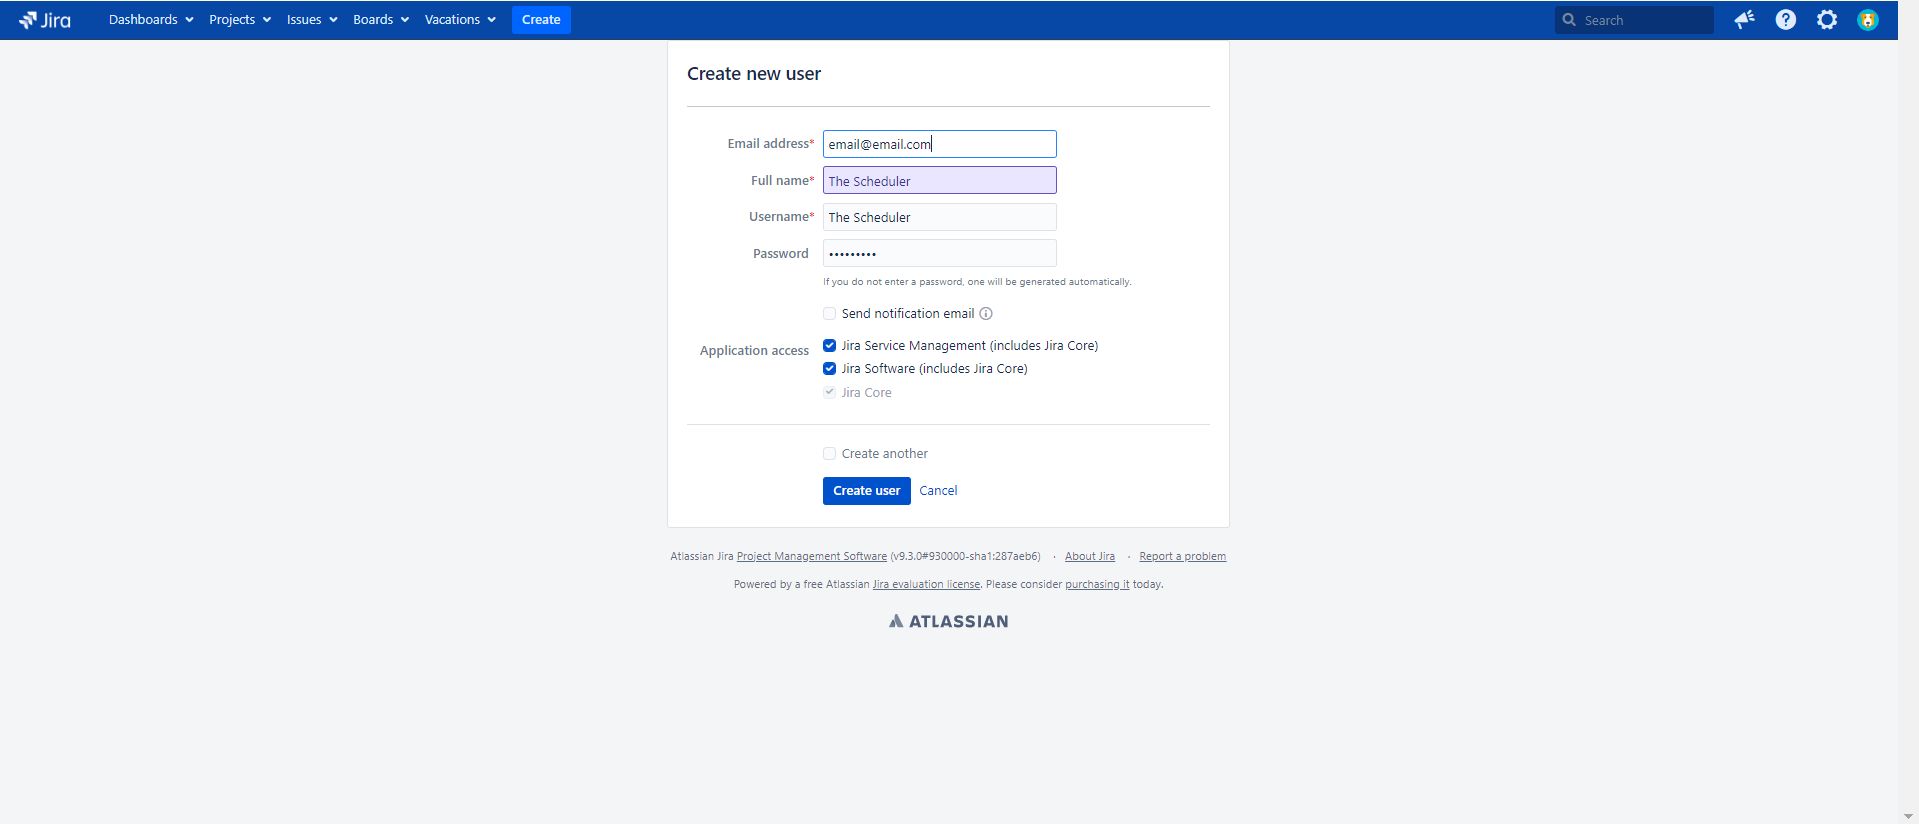 The Scheduler profile has been created (1) and it appeared in the list of users in user management section. 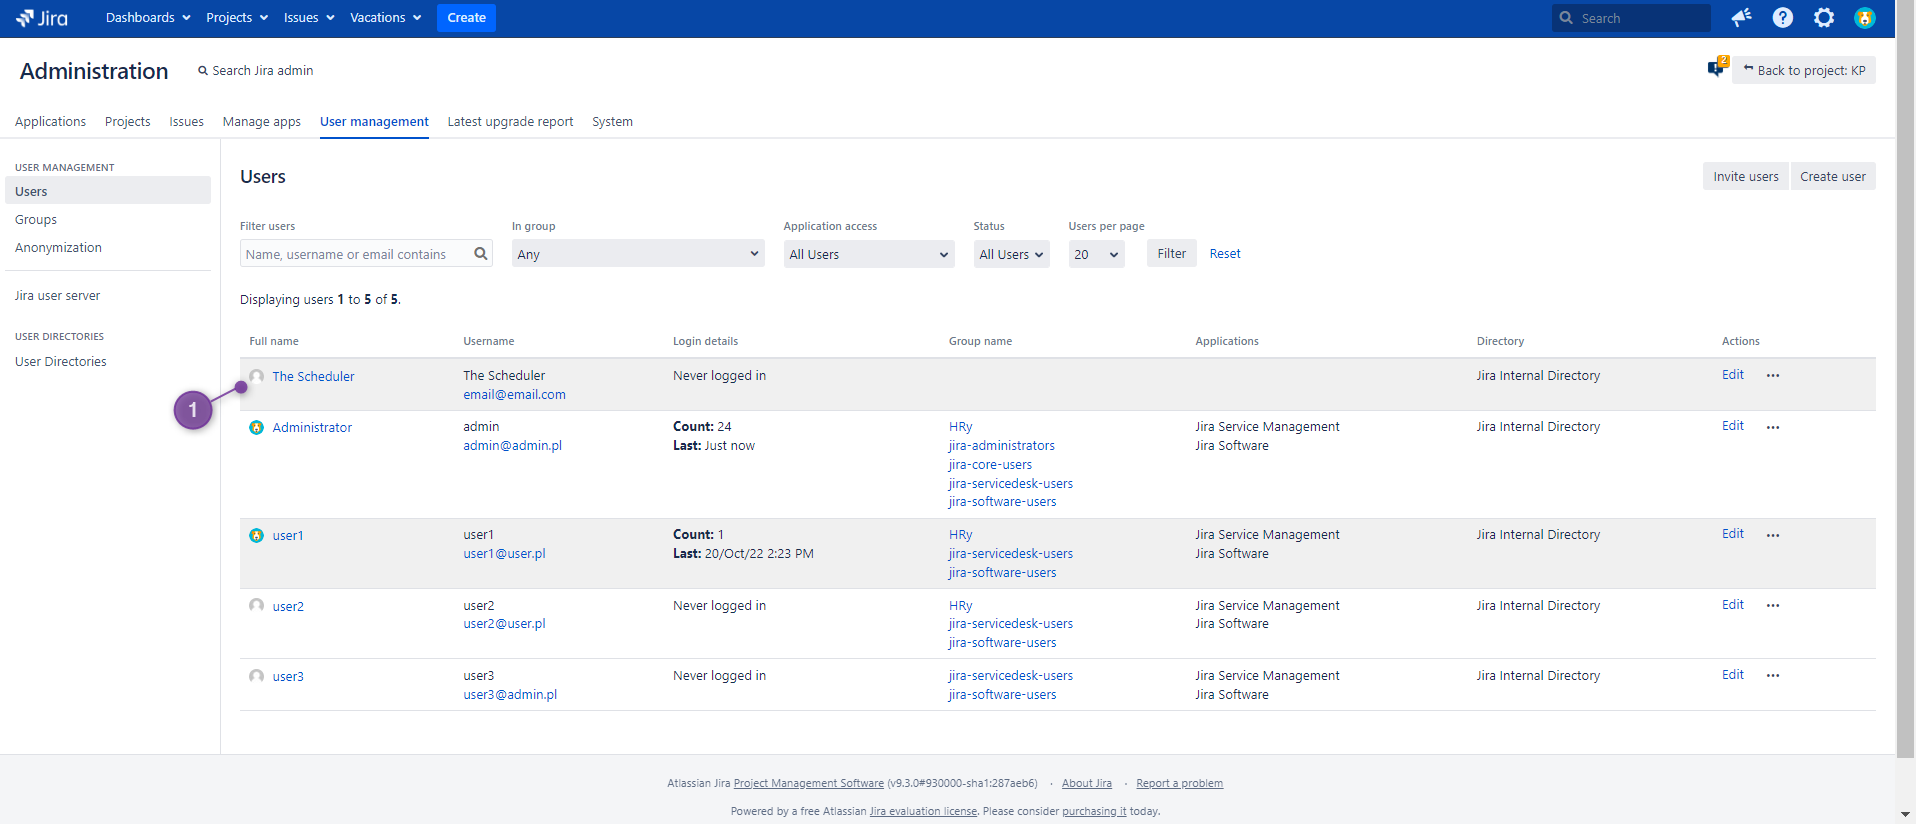 |
From now Now you can use this profile user, when you want your issues to be marked as created by The Scheduler (1).
...
To read more about The Scheduler permissions, visit: Permissions
Benefits of The Scheduler as a creator of scheduled issue
Email notifications for issues created by The Scheduler
A separate profile for The Scheduler gives several benefits. One of them is that you can receive email notifications when an issue will be created by the app.
...
If the above conditions are met, both manual and automatic execution should result in sending an email notification to users selected in the notification scheme (2) with the information that The Scheduler has created an issue (5).
...
Finding issues created by The Scheduler
If you mark your issues as created by The Scheduler, you can also find them easily in your Jira instance.
...
Issue history
You can notice this in the history (1) of a single issue created by The Scheduler (2):
...
Issue details
There is also an option to check if this issue has been created by The Scheduler in issue details (1). User can also see which Scheduled issue template generated an issue and see the next planned occurrence (2).
...
Basic search for creator
Since all issues are created by app, you can search by this user. Selecting The Scheduler (3) as a creator (2) filters all issues and returns those that have been generated from the Scheduled Issue template (4).
...
JQL search
The list of issues (2) generated by The Scheduler will be also displayed using a simple JQL filter (1):
| Code Block |
|---|
creator = "The Scheduler" |
...
Dedicated JQL functions
If you don’t want to create a separate profile for The Scheduler or you want other Jira users to be set as a creator of issues, you can use our dedicated JQL functions. They allow users to find issues created with the manual and automatic execution of Scheduled issue, regardless of the creator.
...