Import Scheduled Issues is available in Jira Administration → Add-ons section
Once you've exported your Scheduled Issues using Export functionality, you can then import the file on any Jira instance.
The Import process overrides add-on configuration and re-creates missing Scheduled Issues (existing Scheduled Issues will be skipped as described in the inline dialog).
Import how-to:
As a Jira administrator press cog icon (1) to access "Add-ons" (2) and head to "Import Scheduled Issues" (3). Under "Browse" (4), please select valid .xml file from a previously made backup.
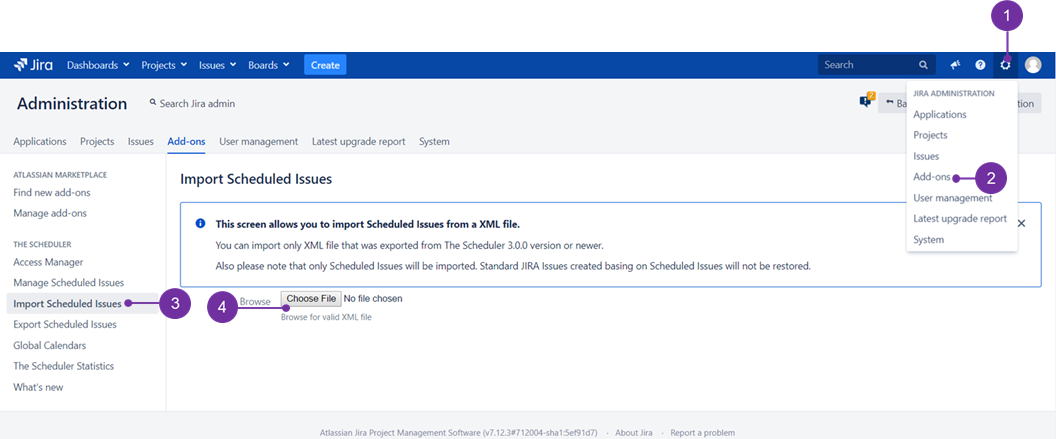
After selecting it, the view will change to a one a presented below:
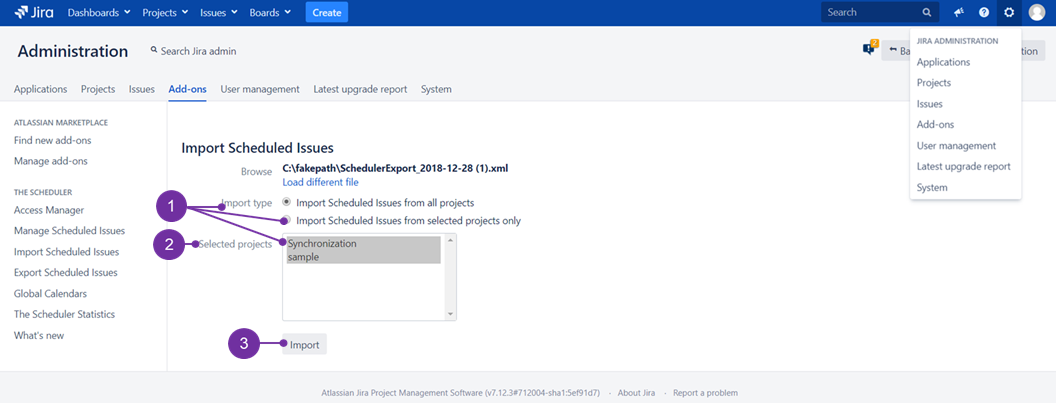
After .xml backup file is loaded, you get a view with possibility to select "Import Type" (1). When you click on any of listed projects within "Selected projects" (2) box, it'll switch automatically to "Import Scheduled Issues form selected projects only".
![]() To select only particular projects use "ctrl" button during selection - by doing so you can import only things of a particular interest or importance and avoid unnecessary clutter.
To select only particular projects use "ctrl" button during selection - by doing so you can import only things of a particular interest or importance and avoid unnecessary clutter.
Once you click the "Import" (3) button, the operation will start. You will be notified when it is completed:
