Installing
Log-in to your Jira instance as an admin
Go to page to install add-on
Click Get app

Select your Jira instance and click Install
Configuration
After plugin is installed you have to start initialization process.
Go to “Apps“ in your Jira instance.
There is new section Absence Tracker Configuration
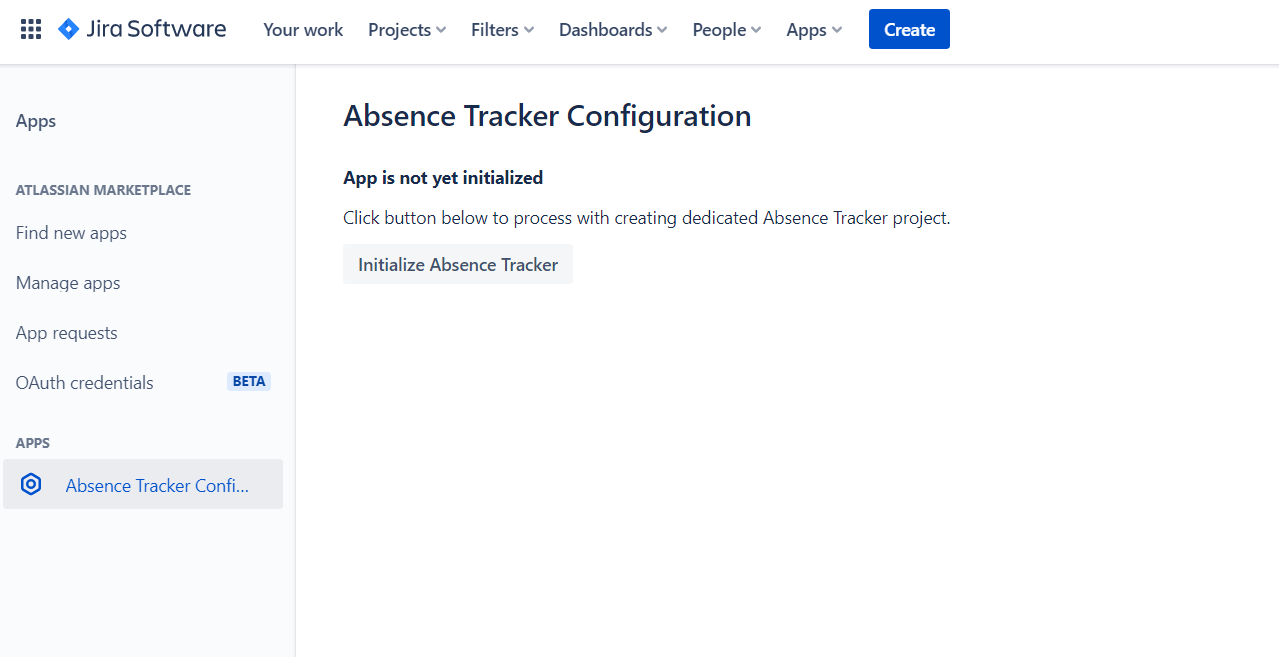
Click Initialize Absence Tracker button to open wizard of initialization process.
Now you should see 1st step of wizard where you can fill:
- Project name
- Project Key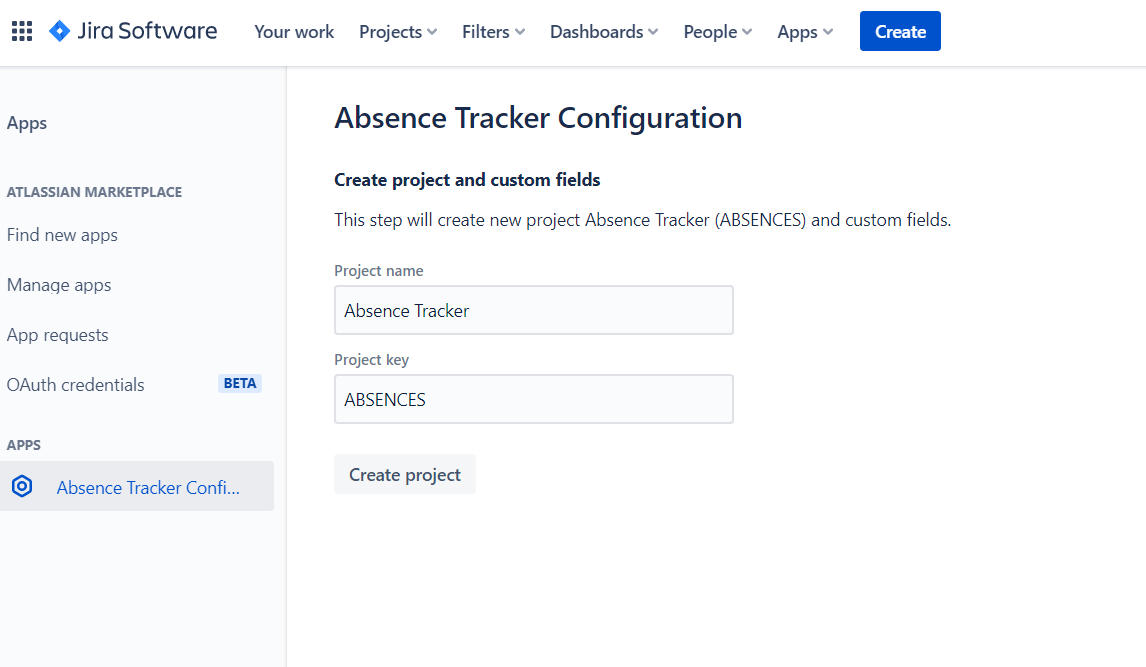
In 2nd step there is information that new custom fields will be created:
- start date
- end date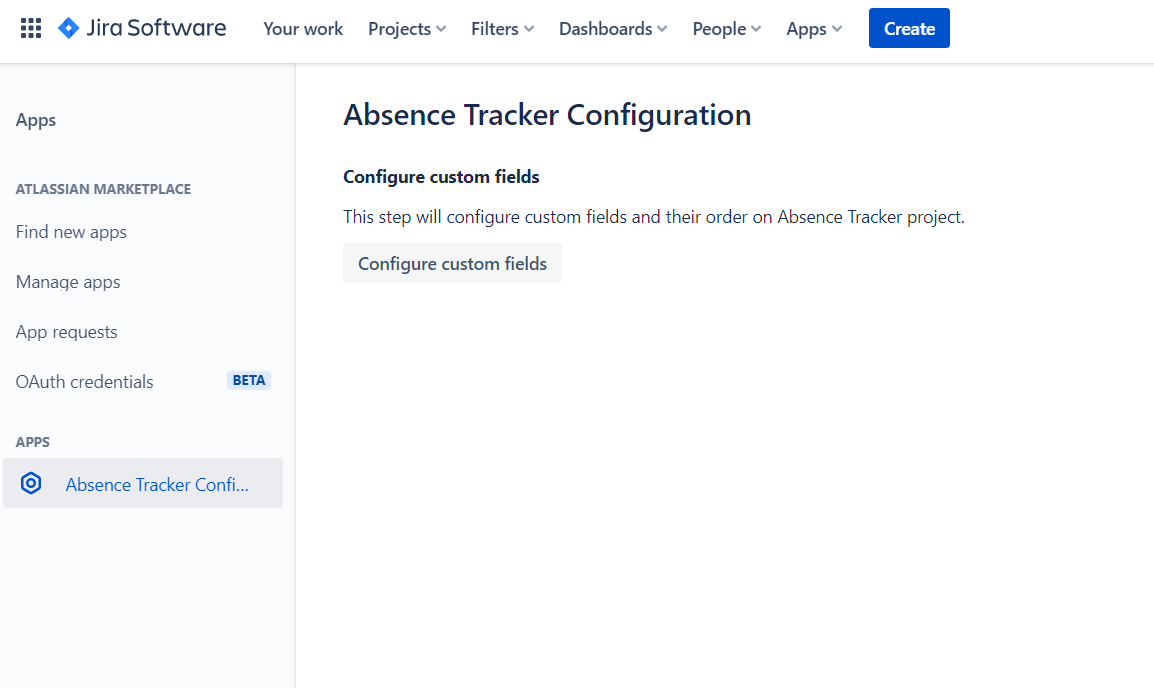
Then click Configure custom fields.
In next step there is information that Absence tracker has been initialized correctly
