Jira hosting: Server, Data Center
Since version 3.2.8 Scheduled Issues are private by default, so no one except a creator and JIRA administrators can interfere with other user's SI. JIRA Administrators can access all Scheduled Issues from JIRA instance via Manage Scheduled Issues page.
Manage Scheduled Issues page can be accessed from JIRA Administration, in the Add-ons section (Projects section in pre 4.0.5 version):
Use the drop-down menu hidden under the cog (1) icon to access "Manage apps" (2) menu.
"Manage Scheduled issues" (3) is located at the left bottom area of the page.

It's possible to define what columns should be displayed in the table. Simply click on "Columns" (1) and tick the ones that you want to see in this view:

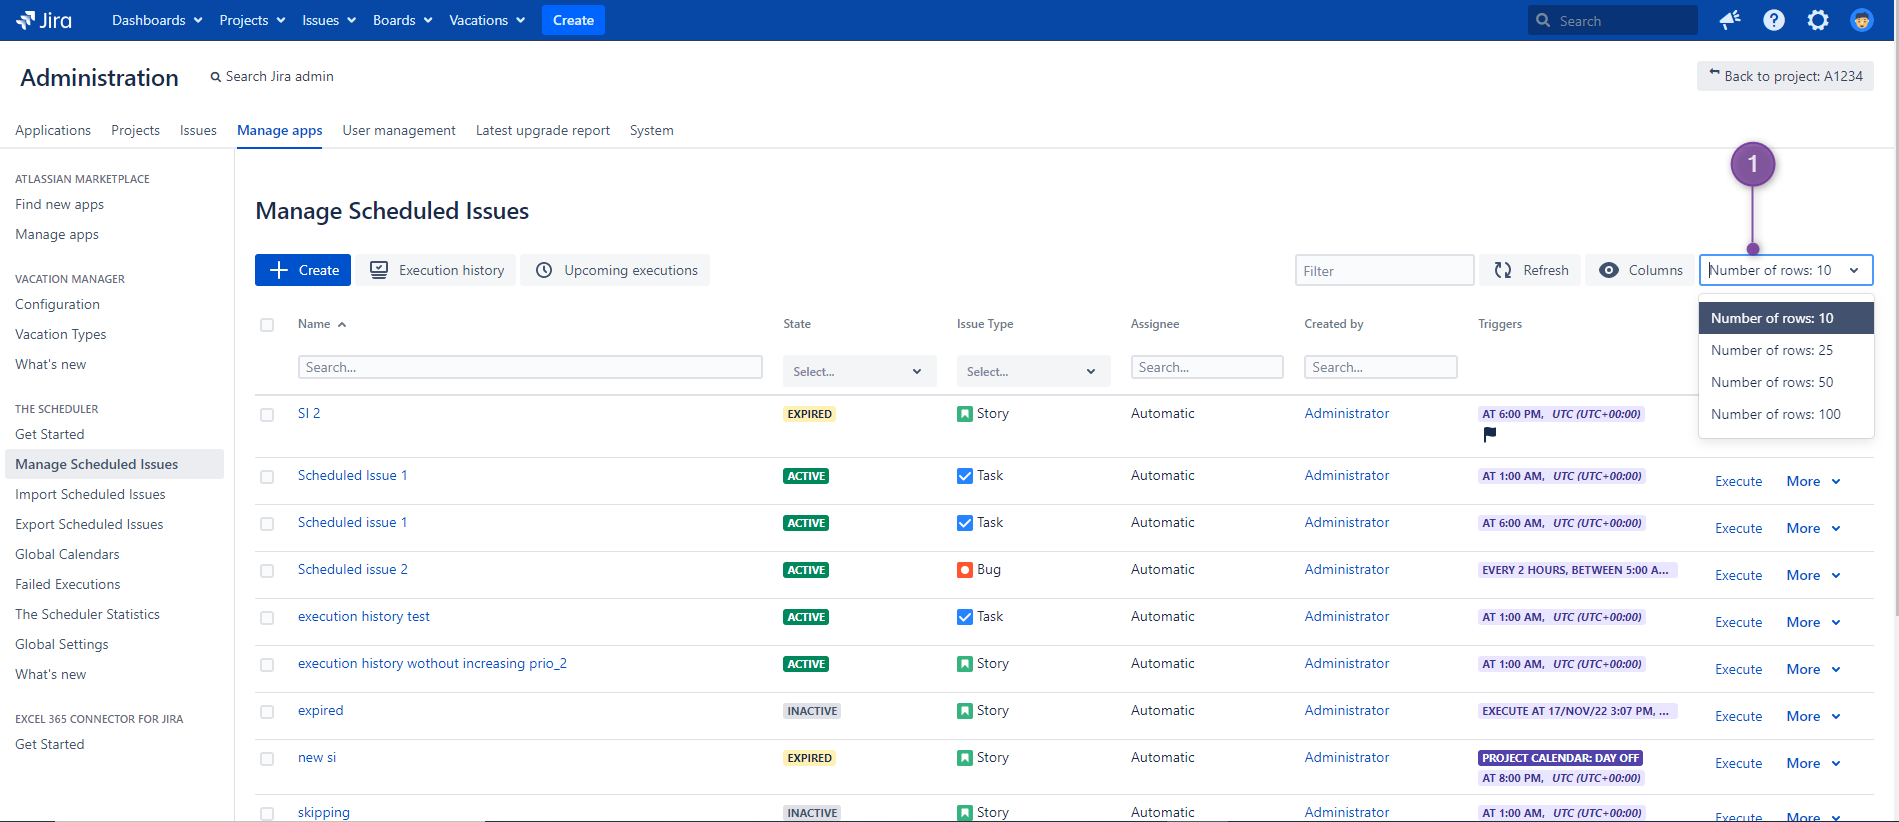
It's possible to define how many rows (1) presenting Scheduled Issues, should be displayed on one page in the table:
It's possible to limit displayed Scheduled Issues by applying the filter (1):

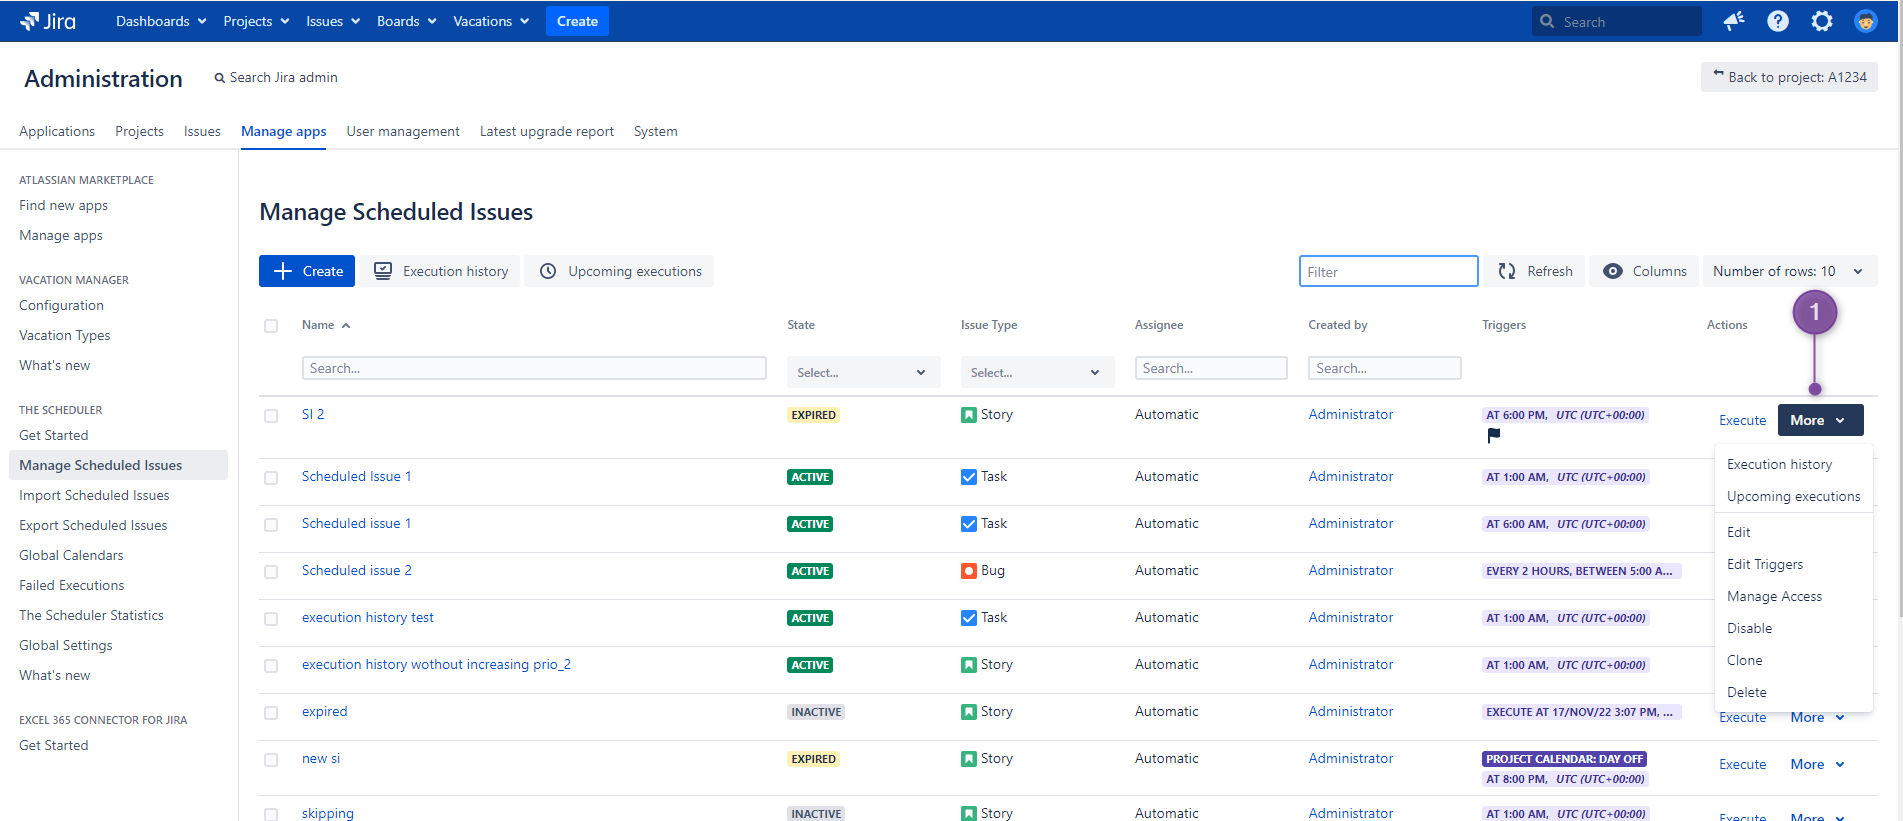
"Actions" column content enables an easy way to execute a selected command, towards a particular Scheduled Issue. This can be done after clicking on "More" (1) link that, as mentioned is located next to each of scheduled issue:
In Cloud, scheduled issues can be managed only from the Scheduled Issue table in particular Project.