The Scheduler for Jira Cloud
...
In Team-managed projects any permission or access in project is controlled on the Access page. Here you can add people to your project and give them a role so they can start collaborating on your team’s work. Your project’s access level sets general permissions for people across your Jira site. You can give specific access or permissions to individual people by creating your own project roles.
Project Settings → Access
...
Everycompany-managed project has a permission scheme. A permission scheme grants users, groups, or roles their permissions in company-managed projects.
...
Here is an example from Jira Cloud configuration in Company Managed project:
Jira Settings → Global Permissions → The Scheduler: Access
...
1b. Browse project permission.
...
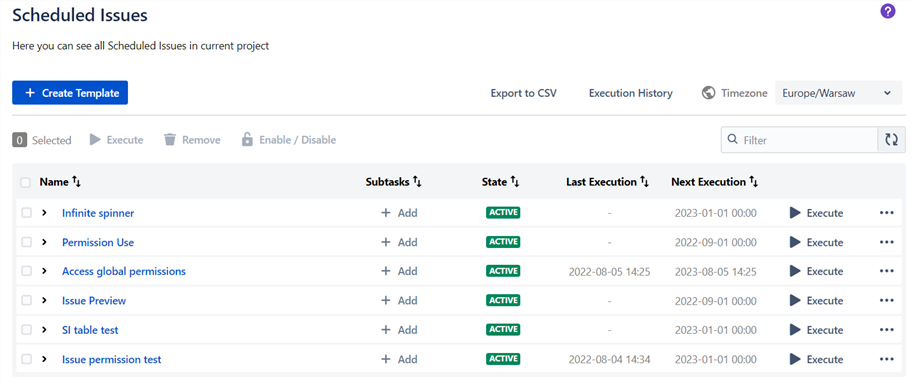
User Permission | Atlassian addon permission | Result of lack/grant permissions on screen |
|---|---|---|
| | |
| | |
| | |
| |
Table: Browse permission with messages of lack or grant User and Altassian addon permission
1c. App’s project permission: The Scheduler: Use.
Project and Global Administrators are granted this by default - to ensure app can be used and managed. Global permission “The Scheduler: Access” is required. Jira Administrators and Project Administrators have access to all Scheduled Issues in project.
Project Settings → Permissions → The Scheduler: Use
...
1d. Create issue permission.
...
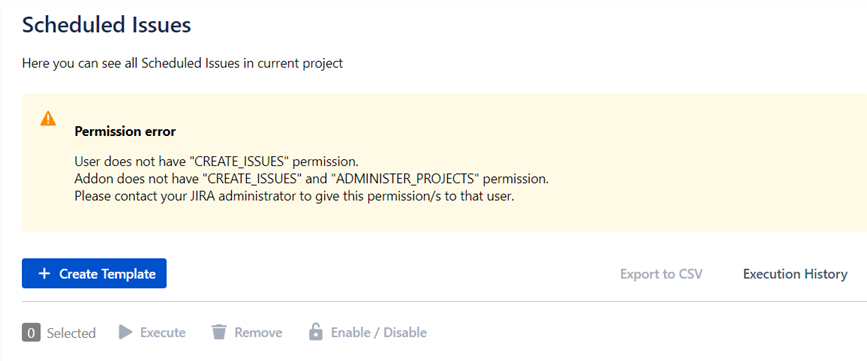
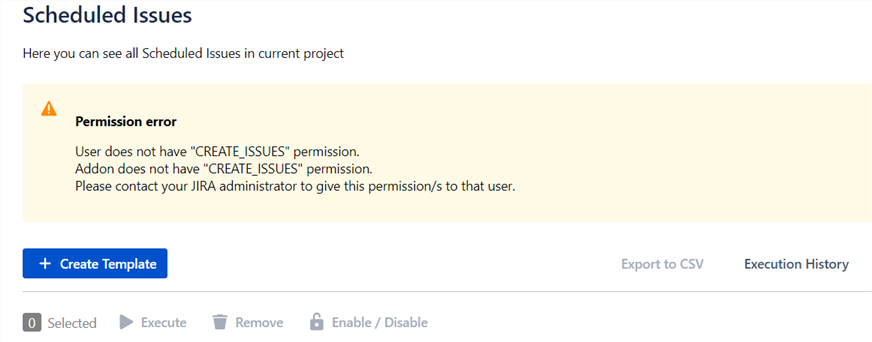
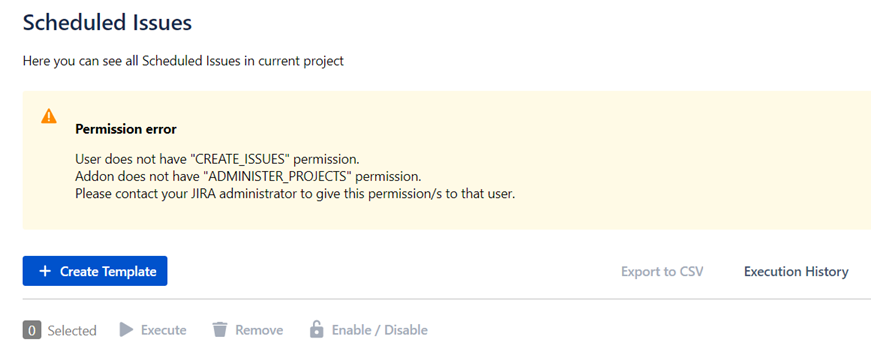
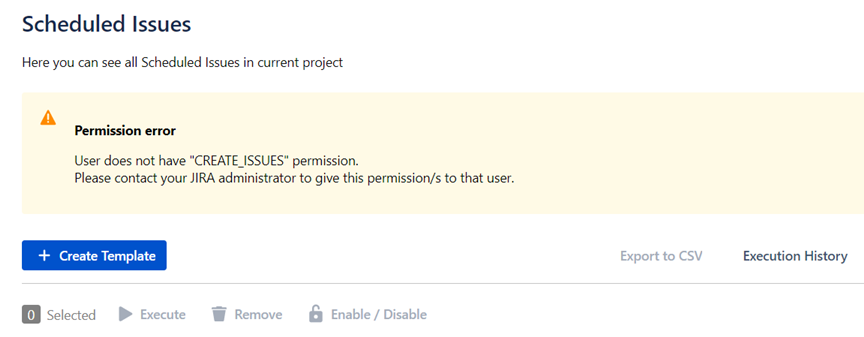
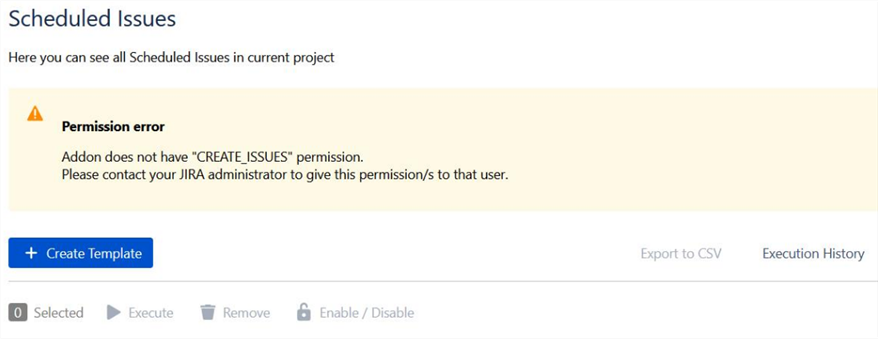
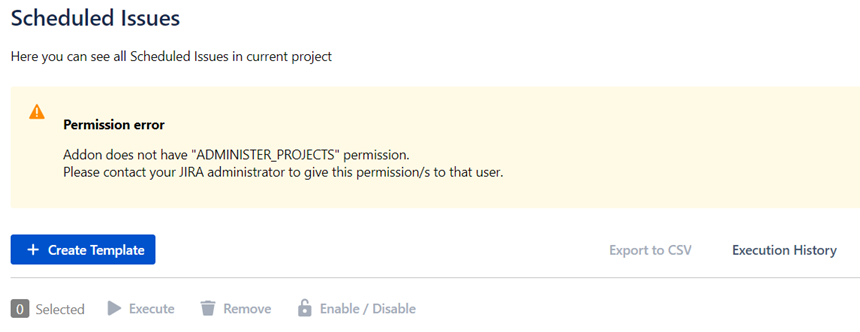
User | Addon | Atlassian addon permission | Result of lack/grant permissions on screen |
|---|---|---|---|
| |
| |
|
|
| |
|
|
| |
|
|
| |
|
|
| |
|
|
| |
|
|
| |
|
|
|
Table: Create issue permission with messages of lack or grant User, Addon and Altassian addon permission
The Scheduler for Jira Data Center (and Server)
...
1. App’s global permission: The Scheduler: Access.
Jira Settings → Global Permissions → The Scheduler: Access
...
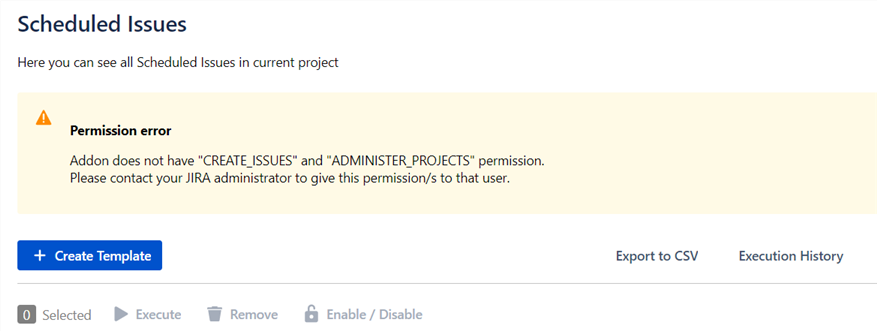
If in Jira settings there will be lack of The Scheduler: Access permission, the missing permissions banner should be visible above the Scheduled Issues table.
...
2. App’s project permission: The Scheduler: Use.
Project Settings → Permissions → The Scheduler: Use
...
The same situation as in case of absence The Scheduler: Access permission: if in Jira settings there will be lack of The Scheduler: Use permission, the missing permissions banner should be visible above the Scheduled Issues table.
...
Browse Projects.
Create Issues.
1. Browse Projects.
Project Settings → Permissions → Browse Projects
...
The same as in Cloud version - in Data Center/Server app version, without Browse projects permission users can not access projects, thus cannot access The Scheduler.
2. Create Issue.
Project Settings → Permissions → Create Issue
...
If in Project settings there will be lack of Create Issue permission, the missing permissions banner should be visible above the Scheduled Issues table.
...

