Scheduler Cloud give its users an ability to create Scheduled Jobs with specified links to existing Jira issues of all types. Issue links can be added during a creation or an edition of a Scheduled Issue.
To do so, on a second step of the Scheduled Issue wizard please scroll down and follow action as presented on example below:
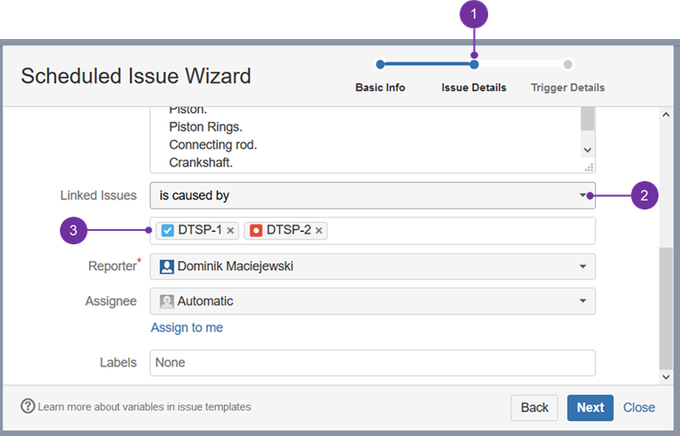
![]() On "Issue Details" (1↓) step of Scheduled Issue wizard, please select at first the cause for linking particular issues (2↙) (i.e. "is caused by") and then in below search box start typing issue key(s) that you aim to link (3↙). You can find any existing issue in an accessed project (also a sub-task type of it).
On "Issue Details" (1↓) step of Scheduled Issue wizard, please select at first the cause for linking particular issues (2↙) (i.e. "is caused by") and then in below search box start typing issue key(s) that you aim to link (3↙). You can find any existing issue in an accessed project (also a sub-task type of it).
After doing so, proceed to the next step by pressing "Next" and on the final stage press "Create" (or "Update" in case of an edition).
![]() Be advised that you should remove on this step, any linked issue that was earlier deleted in Jira, otherwise when you try to execute it manually, or if it'll be done by trigger, then you can expect "Incomplete" error to appear on a SI table:
Be advised that you should remove on this step, any linked issue that was earlier deleted in Jira, otherwise when you try to execute it manually, or if it'll be done by trigger, then you can expect "Incomplete" error to appear on a SI table:

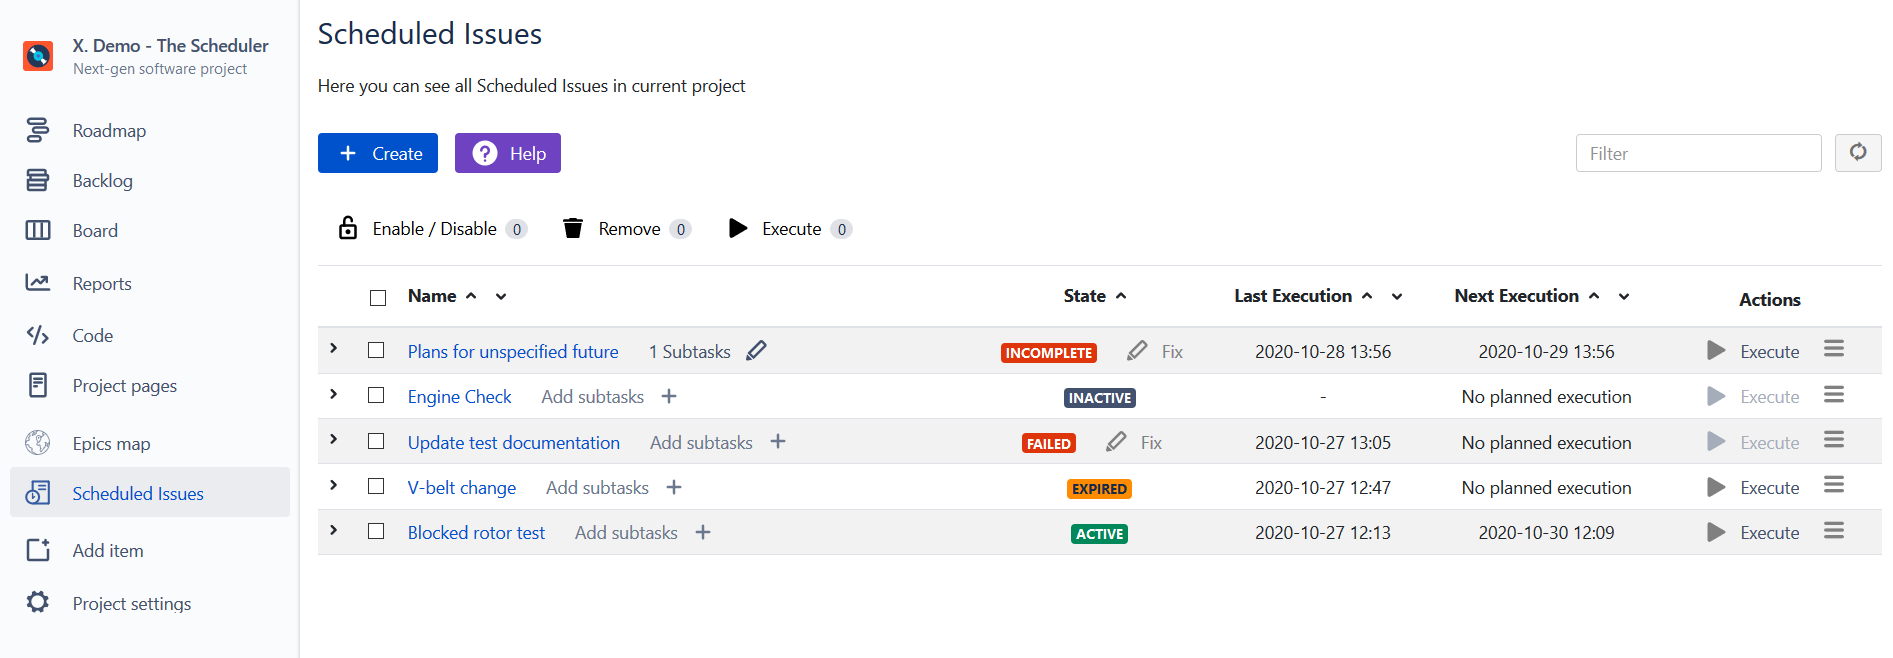
After accessing "Execution History" of a scheduled issue with such status, you will be able to spot that "incomplete" is only relevant to deleted issues - it doesn't affect creation of new issues, linked to a still existing ones in Jira. In other words - it's just a warning that it's impossible to create linking with an issue that is not present in Jira any longer (after execution of such, linked issue won't be present in newly created issue).
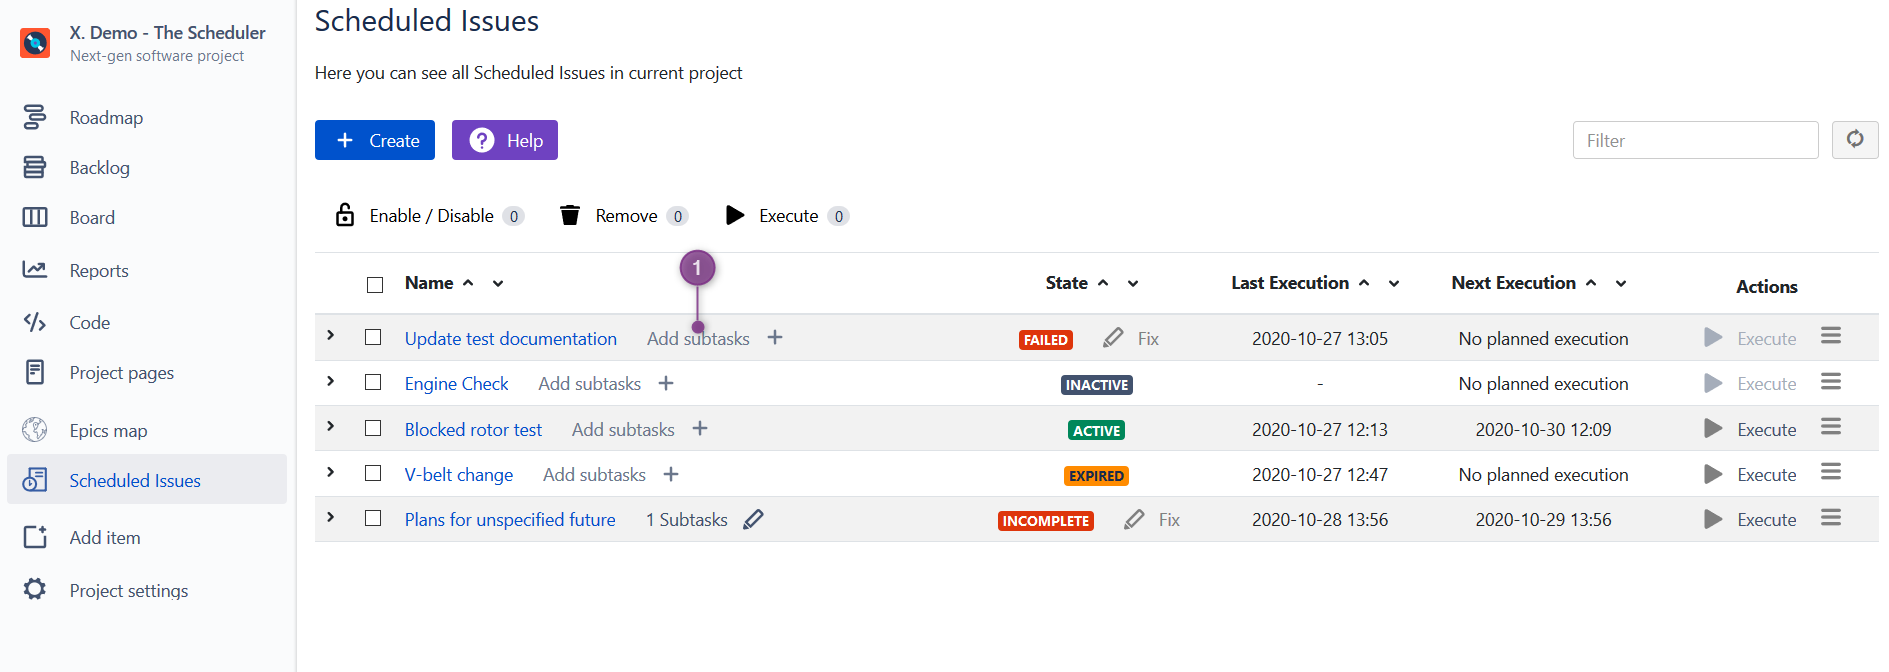
As for the sub-tasks - any issue placed in "Scheduled Issues" table (also with "inactive" status), can be managed with sub-task linking. To do do, simply click "Add subtasks" button placed next to name of SI.
A new prompt with all necessary information will be presented:
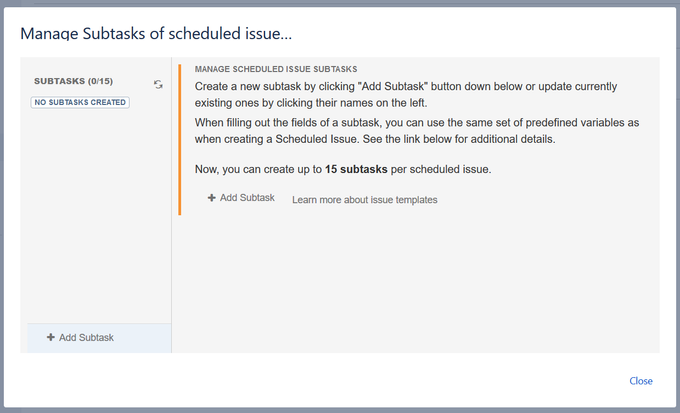
After clicking any of the two present "Add Subtask" buttons, next screen will load, with a linking option present. On a top of it you must provide a "subtask name", then scroll down and fill-in below presented information, as in the below presented example:
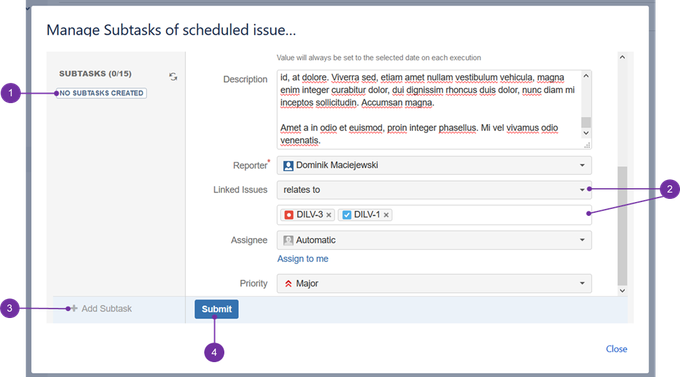
After pressing "Submit" (4↗) new linked sub-task will be created and "No subtasks created" (1↖) information will disappear.
Before pressing "Submit" button, select a reason for linking issue (2↗) i.e. "relates to" and then find one more or more that fits to it.
After submitting recently edited one, "Add Subtask" (3↖) button will become active again, allowing you to create more dedicated subtasks (up to 15 max.), each with unique name, linked issues and fields to fill in.
For more of the features in regards to instant operations on existing sub-tasks in regards to cloning and removing it, please refer to below image:
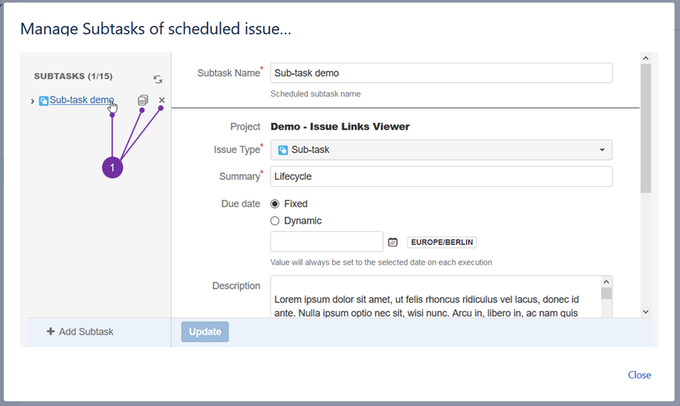
Any created sub-task can be quickly replicated or removed - when you hover a mouse cursor over any of existing sub-tasks(1↖), two more options are to appear at the same time - clone and delete. Move cursor horizontally to the right (stay on the same line as a sub-task is placed) to choose a desired option.