...
To add a trigger: select desired "Trigger Type" (1), "Interval" (2), optional "Start/End Date" (3).
Multiple triggers can be added to a single scheduled issue that is to be created. For each scheduled issue, , but you can use different only one "Calendar" (5).
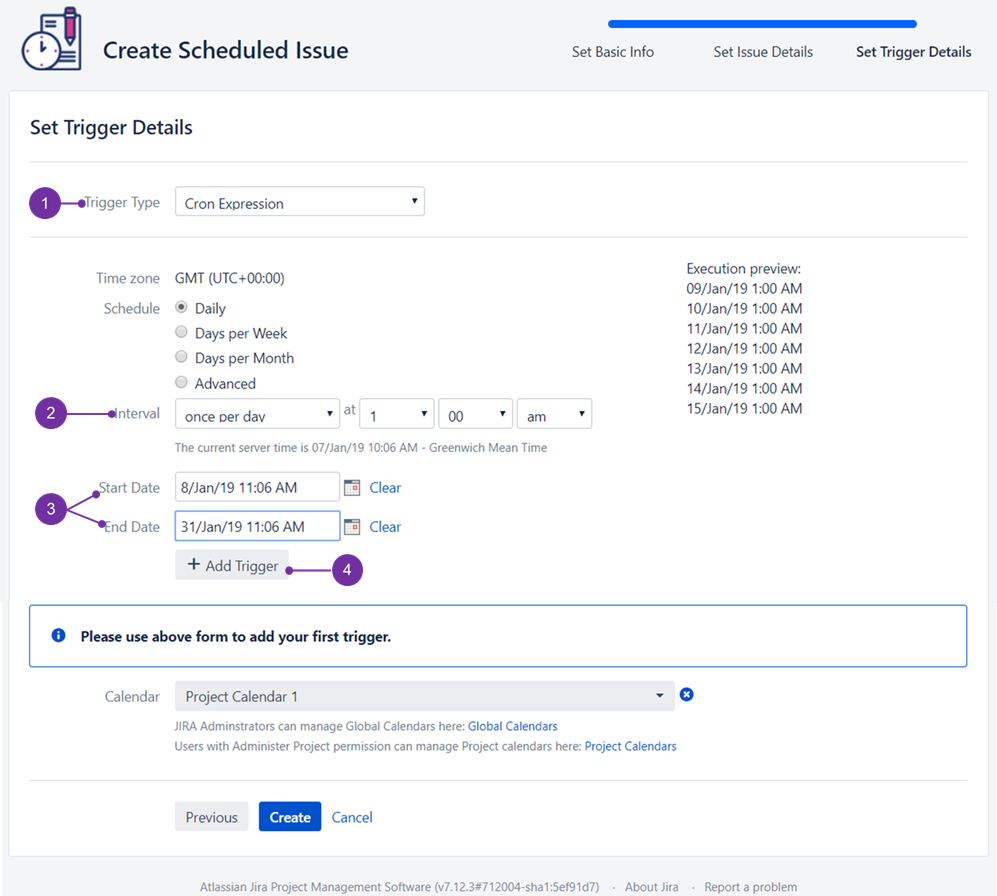
![]() After each trigger is set as desired, please remember to use "Add Trigger" (4) button.
After each trigger is set as desired, please remember to use "Add Trigger" (4) button.
![]() After clicking on "Add Trigger" a similar table entry, as illustrated below should appear:
After clicking on "Add Trigger" a similar table entry, as illustrated below should appear:

If everything is set as planned please click on "Create" and you will see it under "Scheduled Issues" overview.
In case of the above presented example, after accessing "Scheduled Issues" and opening newly created scheduled issue "Upcoming Executions":

![]() If you want to know more about the above-presented details' view, head to this page. - that's it, you have created Scheduled Issue.
If you want to know more about the above-presented details' view, head to this page. - that's it, you have created Scheduled Issue.
Right after creating SI you will be taken to Scheduled Issue details page [5.x] with essential issue details:
This scheduled issue will also appear in the table view, with a list of all scheduled ones.the Scheduled Issue Table Content [5.x]