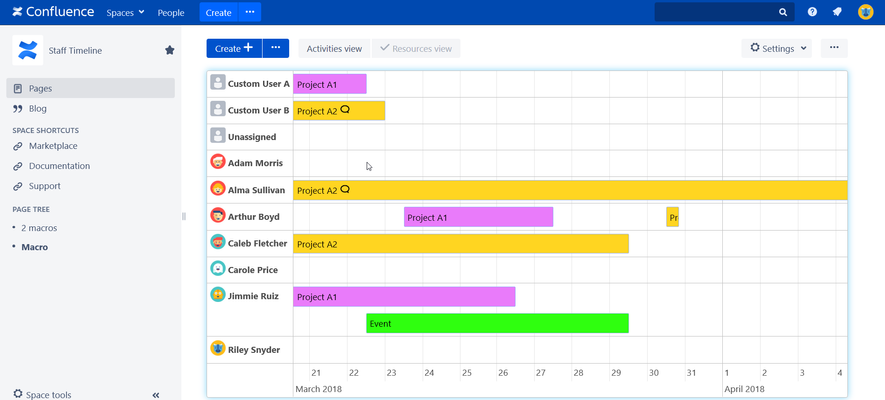
You can create, update and remove activities directly on the Timeline.
...
The below example will explain it the best:
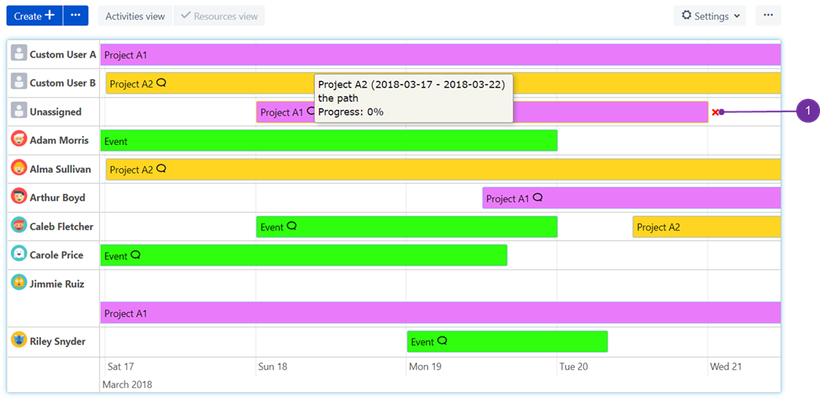
As one can see, mouse pointer was placed in the Adam Morris row and the bottom axis informs that planned activity is to take place on the 22nd of March 2018
...
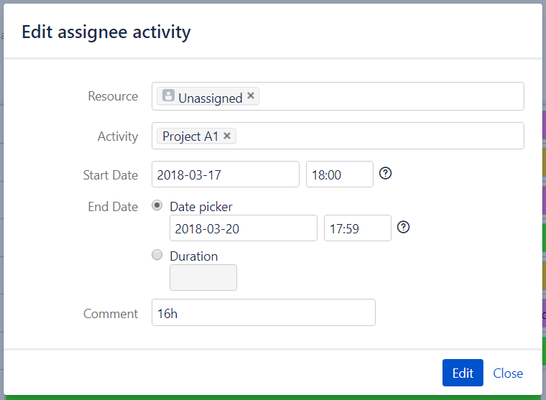
Dialog box appears with a form containing the data to be completed. As you can see, "Resource" (1) and "Start/End Date" were already filled in (of course if needed they can be immediately altered):

If you prefer not to have a stiff Start/End Date set, then "Duration: (4) is a better option. Here you can set how many hours should it last (as it fits better particular time-oriented tasks).
![]() In regards to "Duration" - be advised: only working day (business) hours are taken into consideration, so activity with i.e. 16 hours may look extended like it is 3 days long on the graph, whilst only 8 hours of each day are taken into account from time frame 8 AM to 6 PM.
In regards to "Duration" - be advised: only working day (business) hours are taken into consideration, so activity with i.e. 16 hours may look extended like it is 3 days long on the graph, whilst only 8 hours of each day are taken into account from time frame 8 AM to 6 PM.
Additional comment to the assignee's activity may be left as well (5).
...
If you want to do some bulk actions then consider ticking "Create another" (6). If all is ready and set correctly please use "Create" (7) button to place it in timeline view.
Update an Entry
To update an existing entry click on it and drag for a given period - this method suits the best for minor changes. To use drag and drop technique first you need to select an item, using single left mouse button click. For major changes simply double click an item to open its full edition.
![]() The easiest way to spot if the element was selected is to see if red "x" symbol is visible on its right side (1). After selecting an item on the timeline, its frame color also changes (you should be able to spot its border yellow glow)
The easiest way to spot if the element was selected is to see if red "x" symbol is visible on its right side (1). After selecting an item on the timeline, its frame color also changes (you should be able to spot its border yellow glow)
Dialog with summary of changes appears after using either double click or drag and drop technique:
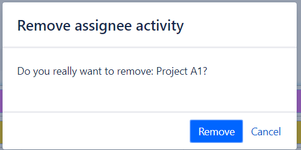
Delete Entry
To delete existing entry click on it using left mouse button and then repeat action on the button with "x" symbol. ("Update an entry" section above shows exemplary location of "x")